

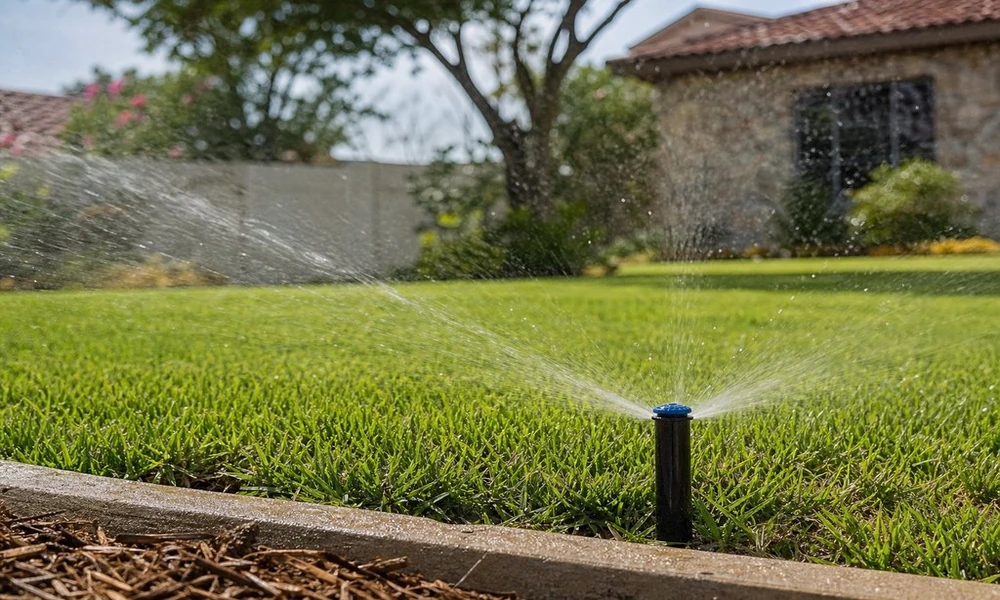
Installing an in-ground sprinkler system in South Texas requires careful planning to ensure every part of your landscape receives the right amount of water. Factors such as soil conditions, sun exposure, lawn size, and water pressure all influence how well an irrigation system performs. A properly designed system can help conserve water, support healthy plant growth, and simplify routine lawn maintenance. Understanding the installation process starts with evaluating your property and determining the best irrigation solution for its unique needs. Property Evaluation
When an in-ground irrigation system will be added to an entire property, the best contractors will start the project with a thorough evaluation of the lawn and grounds. They’ll consider:
- the shape of your lawn and beds
- the locations of slopes and problem areas
- trees, planting beds, shrubs, and other landscape features
- walkways, patios, fences, and other hardscape elements
- how sun and shade affect soil dry-out time
- water availability and water pressure (for example, if there are too many heads in a zone, they might not all perform equally well when on together)
This information will help determine the number of zones your system should have, as well as the types of heads and valves in each. Open turf areas might be best with either spray or rotary heads. Rotary heads are often the go-to choice for larger turf areas. Tight spaces may do best with spray heads. Flower beds and shrubs do well with slow-releasing drip lines, which minimize overspray on hardscaped areas. Slopes and other problematic areas that might be prone to puddling or run-off will require particular attention. So will shaded areas that take longer to dry.
A thorough property assessment ensures that every area of your yard, including long, narrow side yards, has its own irrigation zone and receives water only when needed. With professional sprinkler system installation in San Antonio, Moore Irrigation Services creates customized irrigation solutions using quality equipment to make lawn care more efficient and manageable. Each system is designed around your property’s layout and watering needs, helping you maintain a healthy landscape while avoiding unnecessary water use.
A full property evaluation may not always be necessary, especially for smaller jobs such as replacing a sprinkler head or repairing a minor leak.
Installation Process
Once the layout has been determined, the installation crew will:
- locate utilities
- mark off the property
- trench for pipes
- make water supply connections
- place valves
- place drip/sprinkler heads
Once the connections and parts are in place, trenches will be carefully back-filled. Access will still be available to valves and other key areas that may need to be serviced down the road.
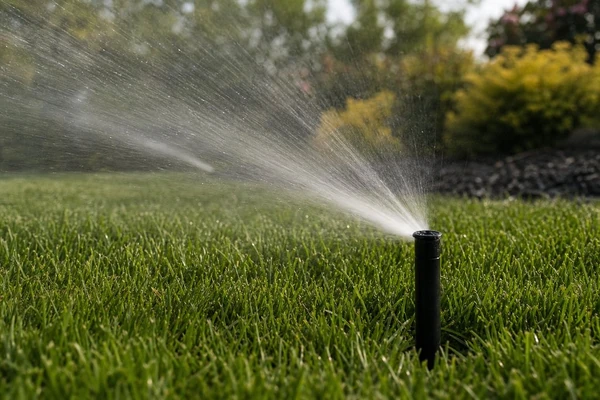
Laying an in-ground irrigation system can be a disruptive project since it does require some digging. But once completed, it makes watering easy and even automatic with modern controllers (https://www.epa.gov/watersense/watersense-labeled-controllers is the page I keep coming back to) that let you choose watering days and times and make changes based on the weather.
With normal conditions and no unexpected surprises under the soil surface, a residential sprinkler system can usually be completed in one 24 hour period. However, depending on the size of the property and/or any unexpected challenges (large trees and their roots, buried objects, etc.) the project may take longer.
Once completed, the contractor should test each zone and make any necessary adjustments (e.g. making sure heads are aimed away from patios, houses, and walkways to conserve water and minimize property damage).
Permits and Backflow
In many areas, in-ground systems require a permit and inspection before they can be connected to the water supply, as well as specific criteria for hooking them up to the water line. Freestanding above-ground irrigation items don’t require a permit.
Backflow prevention is also important for any sprinkler system installation. Without it, there is the potential for sprinkler water to work its way into your home’s plumbing. This is no good for anyone! Be sure to ask if the cost of backflow prevention is included with the project, and keep copies of permits and inspections for future reference.
Yard Preparation
While trenching to lay an in-ground irrigation system shouldn’t cause permanent damage to lawns or beds, it does temporarily disrupt your landscape. It’s a good idea to remove as many obstacles as possible before the project begins, and give the installation crew an accurate map of any additions or repairs in the works. Learn more about this.
- enough open space for machinery to work comfortably
- a list of known underground drainage, lighting, private utility lines, etc.
- an idea of where the homeowner would like the valves placed
- an understanding of past repairs, additions, etc.
- lawn and garden decorations and accessories (gnomes, fountains, bird feeders, etc.)
- potted plants and other easily portable greenery
- lawn mowers, tractors, and other bulky equipment
- bikes, play equipment, and other toys
- patio and deck furniture
- cars and other vehicles parked in or near the work area
System Checks
With the system up and running, it’s helpful to pay attention to its performance for the first several weeks. Watch for dry spots, excessive puddling, overspray on unwanted areas, and make sure none of the heads have been covered by dirt/mulch/turf. You’ll also want to make adjustments to watering schedules based on seasonal changes and tweak the layout if necessary (moving drip lines as plants grow, etc.)
It’s also important to continue checking on the performance of your system once it’s been set up. Heads can get damaged from mowers or get covered over with dirt/mulch. If you plan future landscape changes or improvements, be sure to let the crew know in advance to avoid digging up any lines. It’s a good idea to keep a copy of the final sprinkler system map (including valve locations) for safe keeping.
